We are all getting used to - hopefully - carrying a bottle of sanitizer around in your bag, or car. If your bottles have magically fell to the bottom of your bag, then this will help! The swivel clasp will allow you to hook it on to the outside of your bag, if desired, not to mention, it is easy to sew because vinyl doesn't require lining and interface. It is strong on its own. It is also easy to wipe clean, if needed. This quick, functional item will be a good pouch to have, for sure. Information is below. Get to sewing! Watch the video if you need to.
Cut the following pieces of vinyl fabric. Other items needed:
Body of pouch - 1 piece of fabric 3 ¼” X 8” Snap closure set
Flap - 1 piece of fabric 3 ¼” X 3” Swivel Clasp
Tab - 1 Piece ¾” X 3”
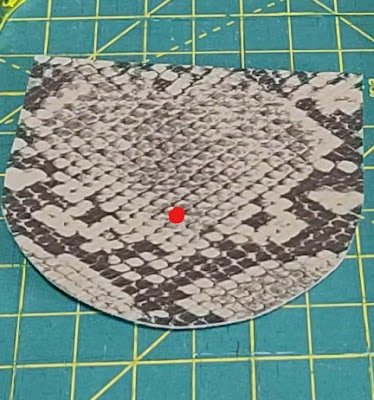
This is not a cut-out pattern. Created to display the measurements, the fabric pieces should reflect What is shown in the diagram here. For the curved flap, cut a 3 1/2' X 3 inch rectangle, fold it and cut the ends of the 3" length side to create the curve. Easy peasy!
To Sew the pouch:
Place the body of the pouch face up.
Place the swivel hook on the tab. Fold the tab and place on top of the main fabric pouch.
Place the curved flap on top of the tab.
Sew across the top using 1/8" seam allowance.
Fold the flap on top of the main body fabric so that it resembles the photo below.
Sew a top stitch on top of the flap using a 1/8" seam allowance.
Fold the bottom of the fabric up, approximately 3", leaving 1/4" space from the top.
Use clips to hold the fabric in place - do not use pins on vinyl (they will leave holes).
Sew the left and right sides of the pouch using a 1/8" seam allowance. Be sure to backstitch!
Find the middle of the pouch by folding the pouch in half, or using a ruler. Mark the middle of the flap and pouch area to add the snap closure.
Draw a semi-circle on the bottom of the pouch to create the opening for the sanitizer cap to fit through.
(I used a water bottle cap. : ) It was easier!)
That's it! All done! You now have a completed sanitizer pouch to hold your bottle.
If you need to watch the video, you can view it here.
Thanks for stopping by!
Nikki


0 Comments