
If I showed you what my wallet looked like before I went on vacation, you could probably relate to me, I am sure! My wallet was neatly organized, just overfilled. Hubby complained about it every single time I unzipped my wallet to get a debit or credit card to pay for something. I must admit, I have a lot of gift cards and store "loyalty discount points cards" that take up space. To eliminate the need to carry some of the gift cards, I attempted to start using apps. It helped however, when my phone updated, it took away my account information for the app, requiring me to log in again and again. Honestly, I cannot remember passwords for every single place I shop at. I counted a total of 23 different cards that I needed to keep a hold of in some way. That's insane!
Like many of you, I hold identification cards, health cards, memberships cards for wholesale places, roadside assistance, store gift cards and more, while hubby only carries his license and bank cards so he has no clue about the amount of space I require!
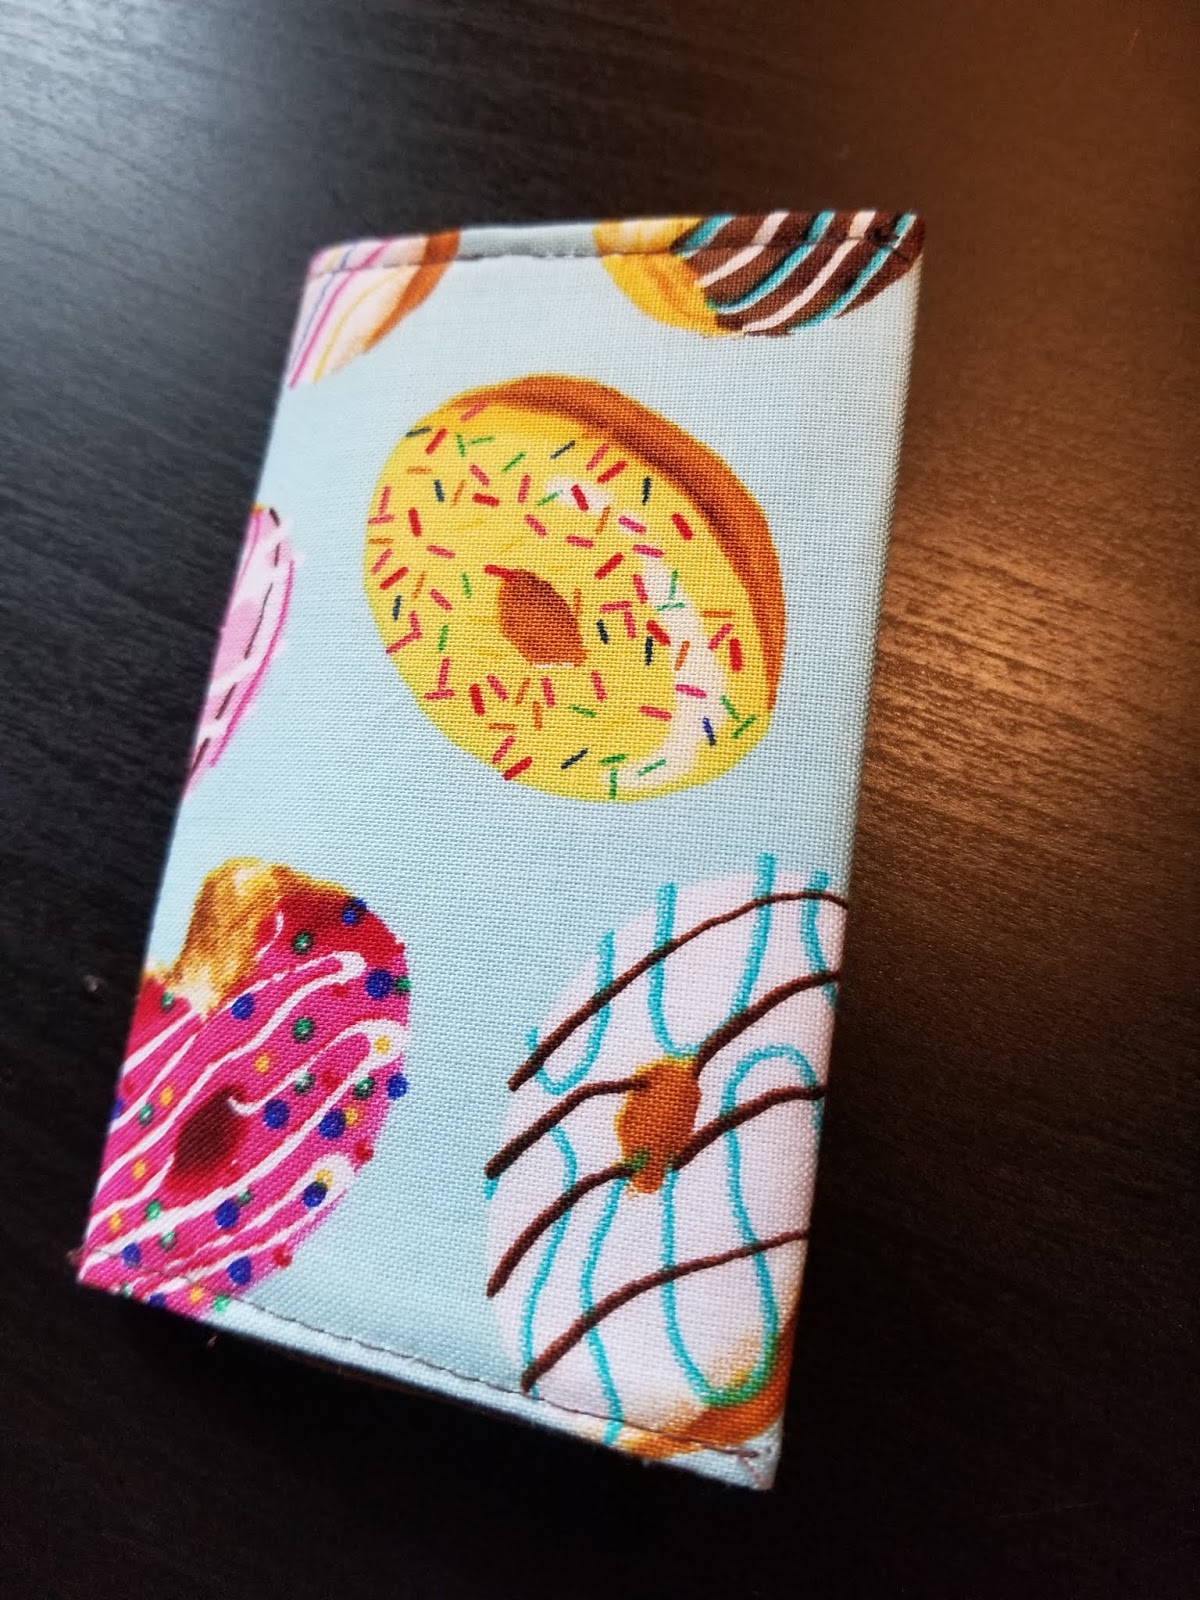
Returning from vacation, I sat to empty out the tons of receipts, train station stubs and other crap that found it's way in to every zip or slot while in Europe. That brought me to this project! I hope you find a way to lighten your wallet load, even if you don't use one of these! Let's make a card holder! (I chose to use donuts fabric because a lot of the cards I have are restaurant/fast food chains.)


Supplies Needed:
1 Outer Fabric measuring 5 in x 10 in.
1 Inner Fabric measuring 5 in. x 10 in.
2 Pelon Interface Fabric 809 measuring 5"x 10"
For the purpose of this tutorial, you will see the doughnuts fabric as the Outer fabric and the brown fabric is the inner fabric.
1. Cut all fabrics mentioned above to the 5 n x 10 in sizes.

Take the interface. The interface (white) will have a shiny side and a dull side. Place it shiny side up on an ironing area. Place your outer fabric face up on top of the interface. You should be looking at the outer fabric the correct way when you do this. (It should look like the above picture). Iron it down on to the interface. Do the same thing for the inner fabric, as shown above. Flip them over. It should look like this picture below.

Be sure to check the interface. Make sure you do not see bubbles of any kind. If you see a bubble, it means your interface is not "glued" down, attached, to your fabrics. Turn them over, if needed, and iron the right side of the fabric again. *Do not iron the interface. Only iron on the cotton fabric!

Once you have ironed the interface, turn the fabrics to face each other, right sides facing. Sew around the four sides leaving a gap in the middle. 3 or 4 finger lengths is good enough. This will allow you to turn the fabric right side out. Be sure to back stitch, or your threads will come out.

To reduce bulk once it is turned the right way, cut off the corners, as shown below. Do this for each corner. I prefer to sew small seams, instead of 1/2 inch seams. I don't like bulk. If your seams are wider, trim them as well. This will reduce bulk when turned.

Stick your fingers in the small gap that you left when sewing. Hopefully you back stitched so the threads are tight!

If you have an awesome chopstick, or another poker, use it to help flatten your fabric, as well as poke the corners out. This will ensure you sew the actual edge and not a rounded corner later. (If you do not have a poker, use a pencil with an eraser on it. Next time you get Chinese food, pick up some of the free chopsticks to keep in your sewing room! I love them!)


Fold the fabric in half so that the small ends meet. This will help you find the middle of what will be the gift card holder. Flatten and iron it. We are not concerned about wrinkles at this point. Ironing always helps to reduce bulk to make it easier to go under your foot on the sewing machine!
Sew down this line, like the photo above. Sewing this line will help the holder fold easily, helping to give it a crease/form. You can see a wider view of the sewn line in the photo below.

Fold each small end in 2 inches. Iron down both sides. (This will later create the pocket to hold the actual cards you place in it.)

Open the "holder" back up. Hopefully you ironed the edge well for this part. Sew down the edge of both sides. 1/8" or close to the edge, whatever you can do. Refer to the picture below.

Fold the flaps back to position once you have sewn the edge lines. Pin them in place. Sew the left and right (long) sides to close up the holder. Back stitch, back stitch, back stitch!! Use 1/8" allowance, or a close as you can, being sure to connect the front fabric to the back. Take your time, as you are sewing multiple layers under your foot at this point. This is why ironing to flatten works wonders!

Once complete, fold it and iron it to help the shape. That's it's! You have made yourself a fancy, unique gift card holder to carry all of your store cards and slim down that main wallet! Now, go make more and let me see them! If you post one, tag me in it so I can see it... on Instagram, I'm @sewnbynikki. You can also post it in my sewing group, Sewing Made Easy, on Facebook.
How To Sew a Gift Card Holder
Let me know if you have any questions!
Follow Me: YouTube channel (Sewn By Nikki)
IG - @sewnbynikki
Pinterest - SewnByNikki
Thanks for stopping by.
Nikki

0 Comments